I didn’t grow up eating butter. In the Caribbean, long power outages made refrigerating dairy products problematic. Plus my mother had taken to the margarine craze, which meant the “heart-healthy” vegetable spread was our fat of choice. So butter wasn’t something I thought of much, until I moved to Copenhagen and experienced a new world of Danish food.
Danish butter is delicious. It’s slathered on thick slices of rye bread and is the main ingredient in their famous pastries. It has a higher fat content than American-style butter due to additional churning. It also has a slightly tangy taste thanks to added cultures; traditionally, the taste was because the butter had been allowed to ferment.
I guess it shouldn’t be surprising that Danish butter is so good; the Danes have been exporting it for hundreds of years. Today, Denmark’s Holstebro Dairy is not only the largest butter producer in the world; its iconic Lurpak is also the reigning Salted Butter champion (and can I get a ticket to that award show please?).
You might assume that Danish butter is hard to make, but it’s actually very easy. This recipe is inspired from CPH Cooking Class, where you can learn how to make everything from Danish rye bread to puff pastry, and much more.
Here’s how to make your own Danish-style salted butter:
Danish-style Salted Butter
Makes approx. 100g butter
Ingredients
30g crème fraîche (38%)
A pinch of sea salt
Note
This isn’t a big portion! Double or triple the ingredients for depending on amount you require.
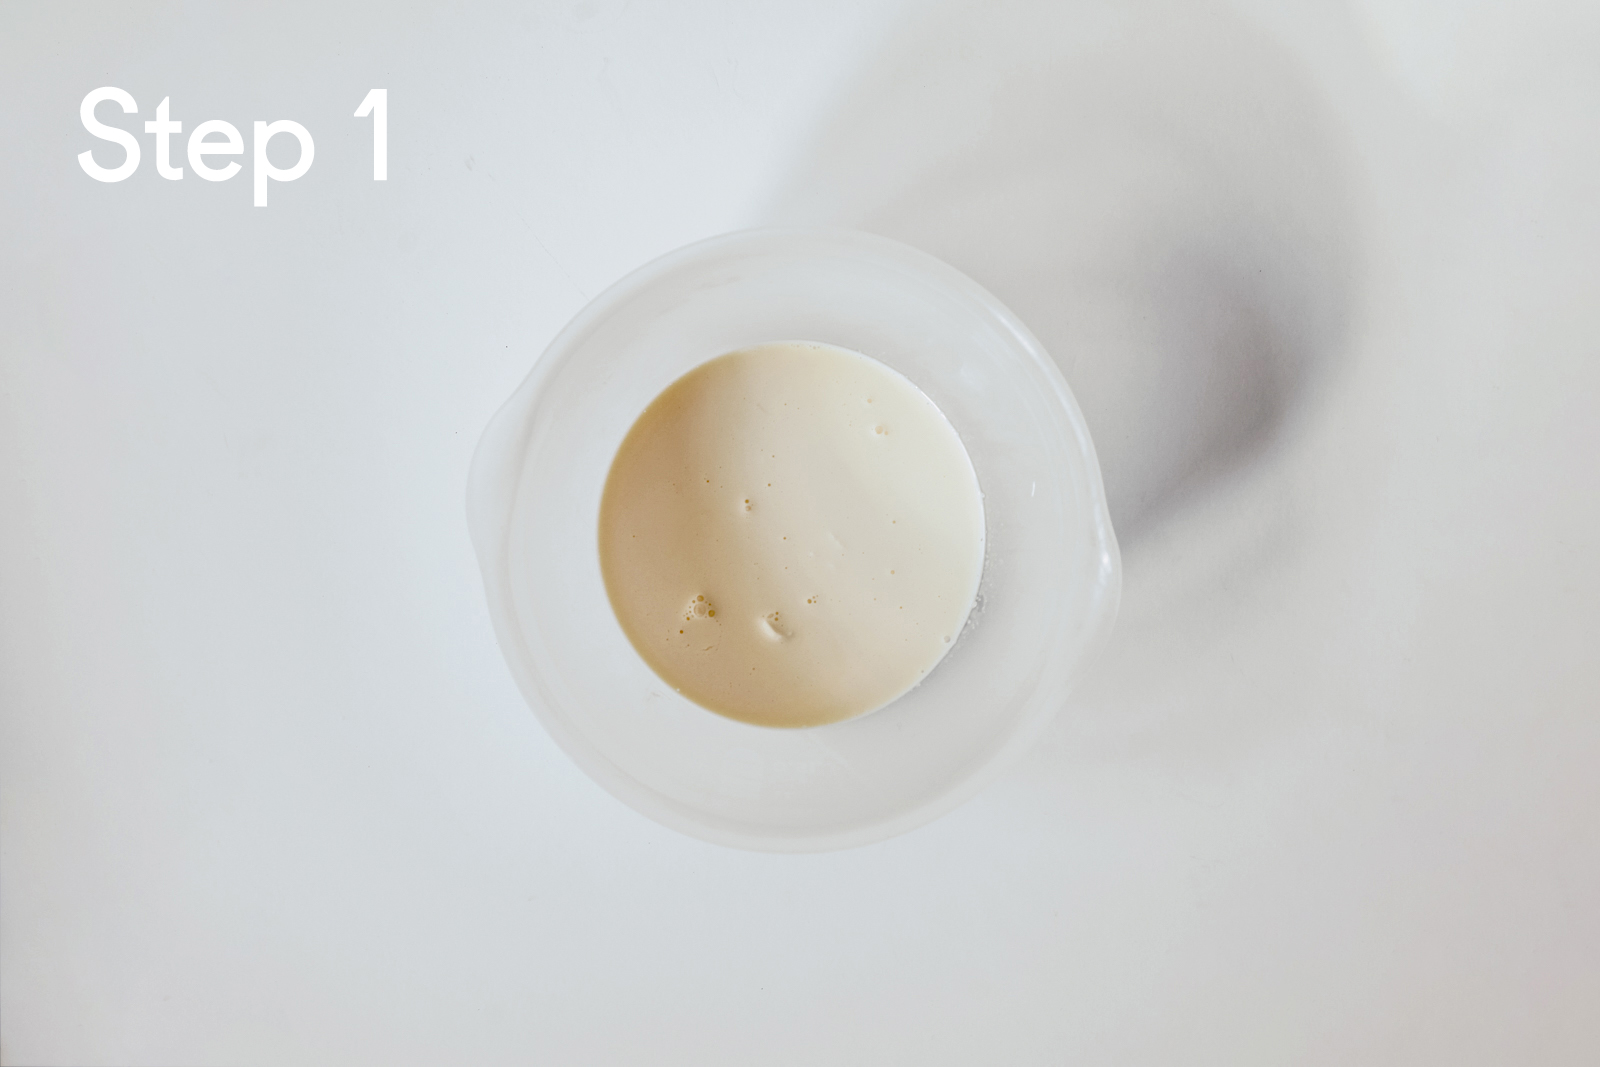
Add the cream and crème fraîche in a mixing bowl

Whisk on high until the fat is separated from the buttermilk for 5 to 10 minutes. As you whisk, the cream will thicken into whipped cream, and then will being to harden and release watery buttercream.

Keep whisking until the butterfat and buttermilk separate completely. It will splash!

Put the mixture in a sieve and let the buttermilk collect in the bowl underneath. Keep the buttermilk for later!

Knead the butter mixture by hand in a bowl of ice cold water to squeeze out any remaining buttermilk.
The cold water solidifies the fat, giving you a solid mass of butter as you continue to squeeze. This step is very important, because if you don’t remove the buttermilk, the butter will turn rancid much faster.
Pour out the water when it becomes cloudy and refill with more water. Continue kneading and squeezing the butter, and refilling the water up to 6 times or until the water is no longer cloudy.

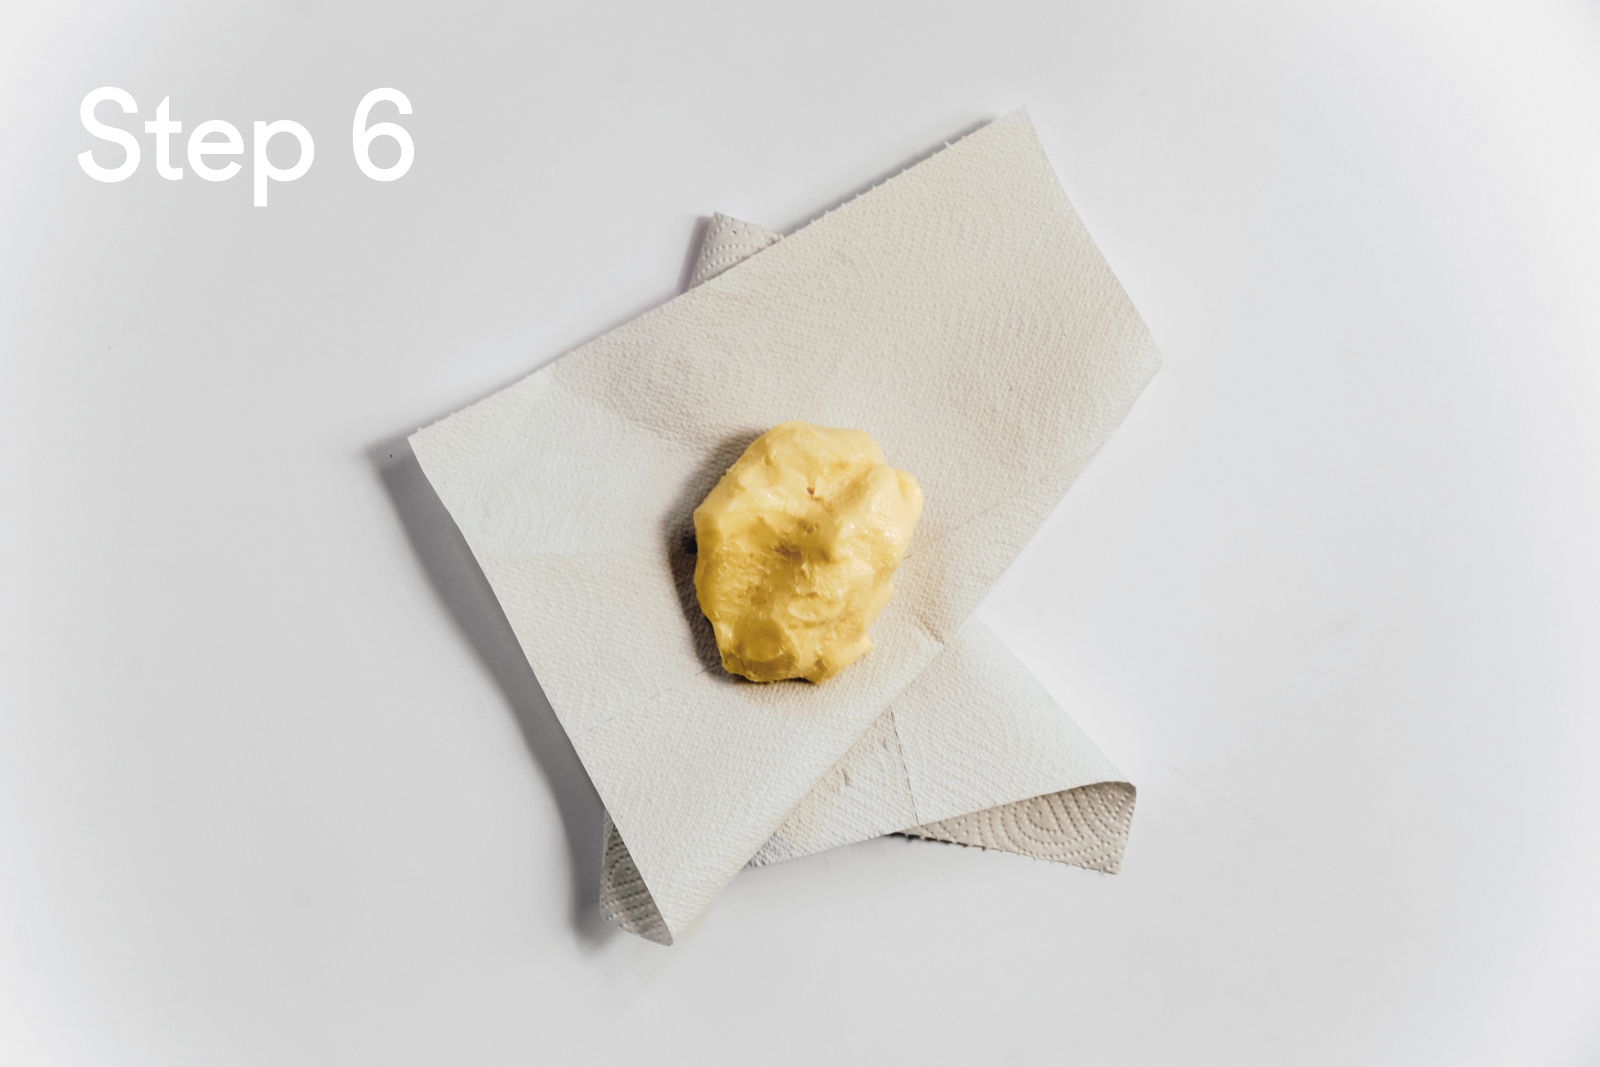
Pat the butter dry with a tea towel or kitchen paper.

Sprinkle with sea salt and place on a piece of backing paper or plastic film, to help preserve the butter. Carefully shape into a roll and refrigerate.
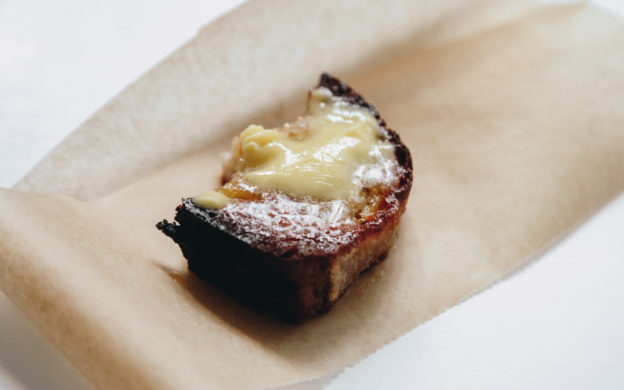
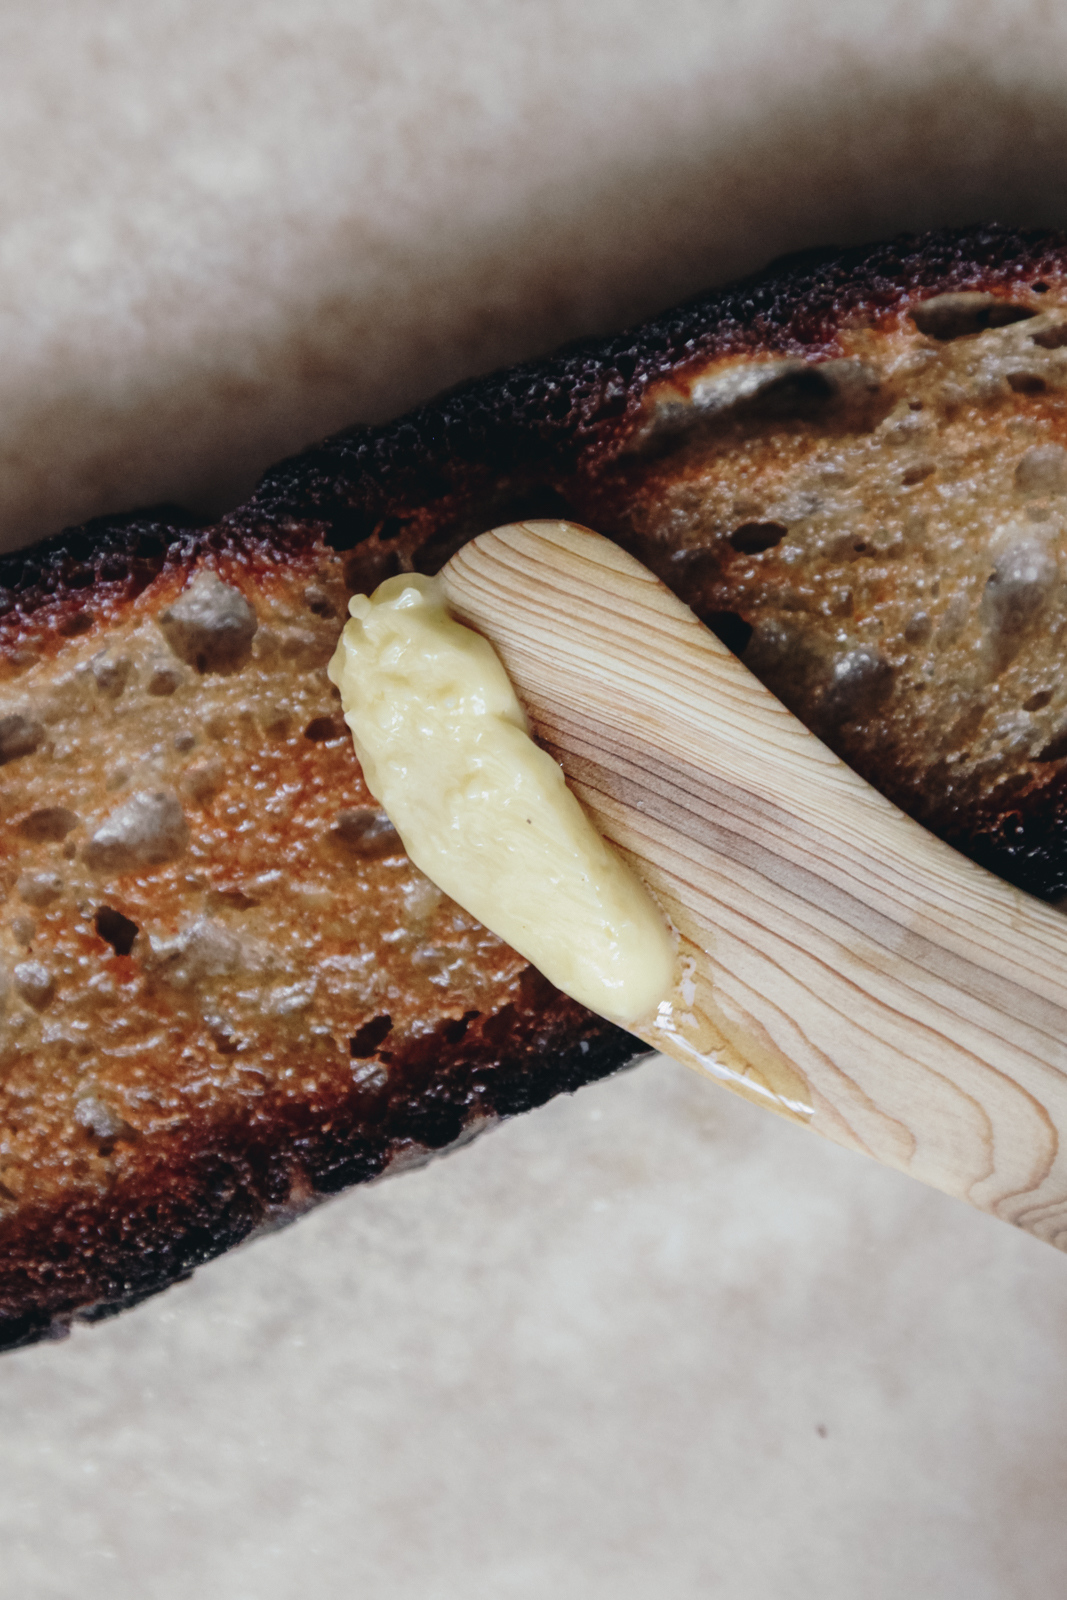
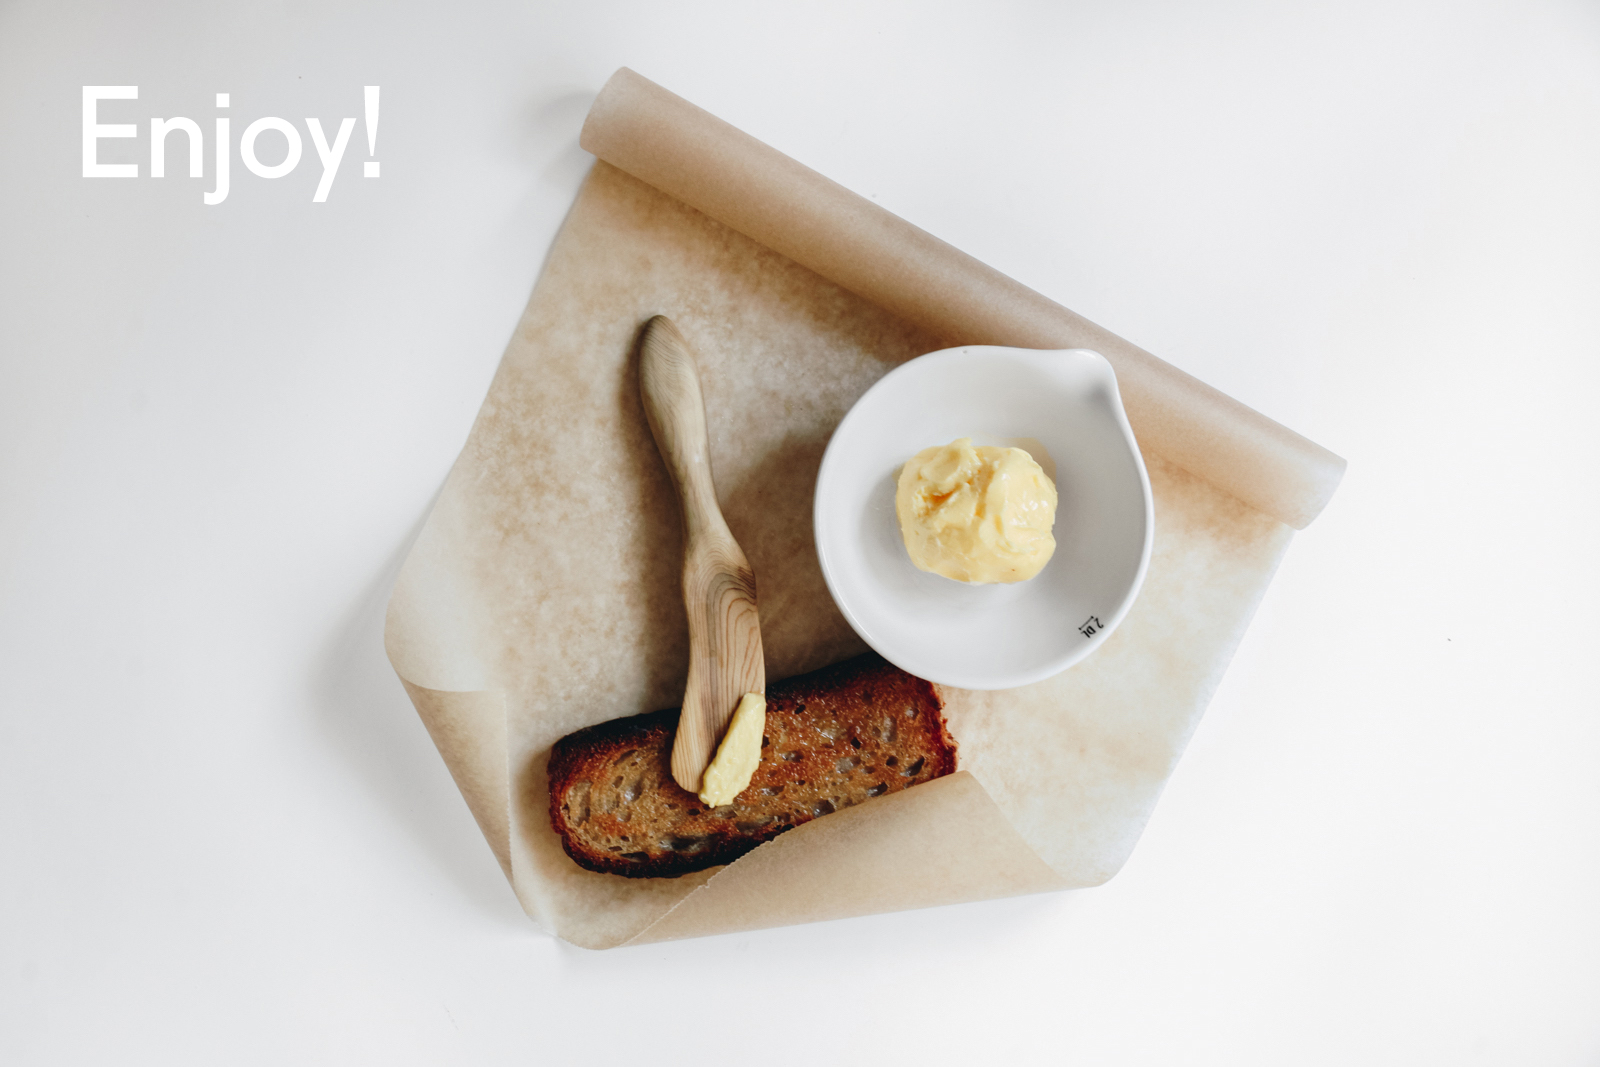
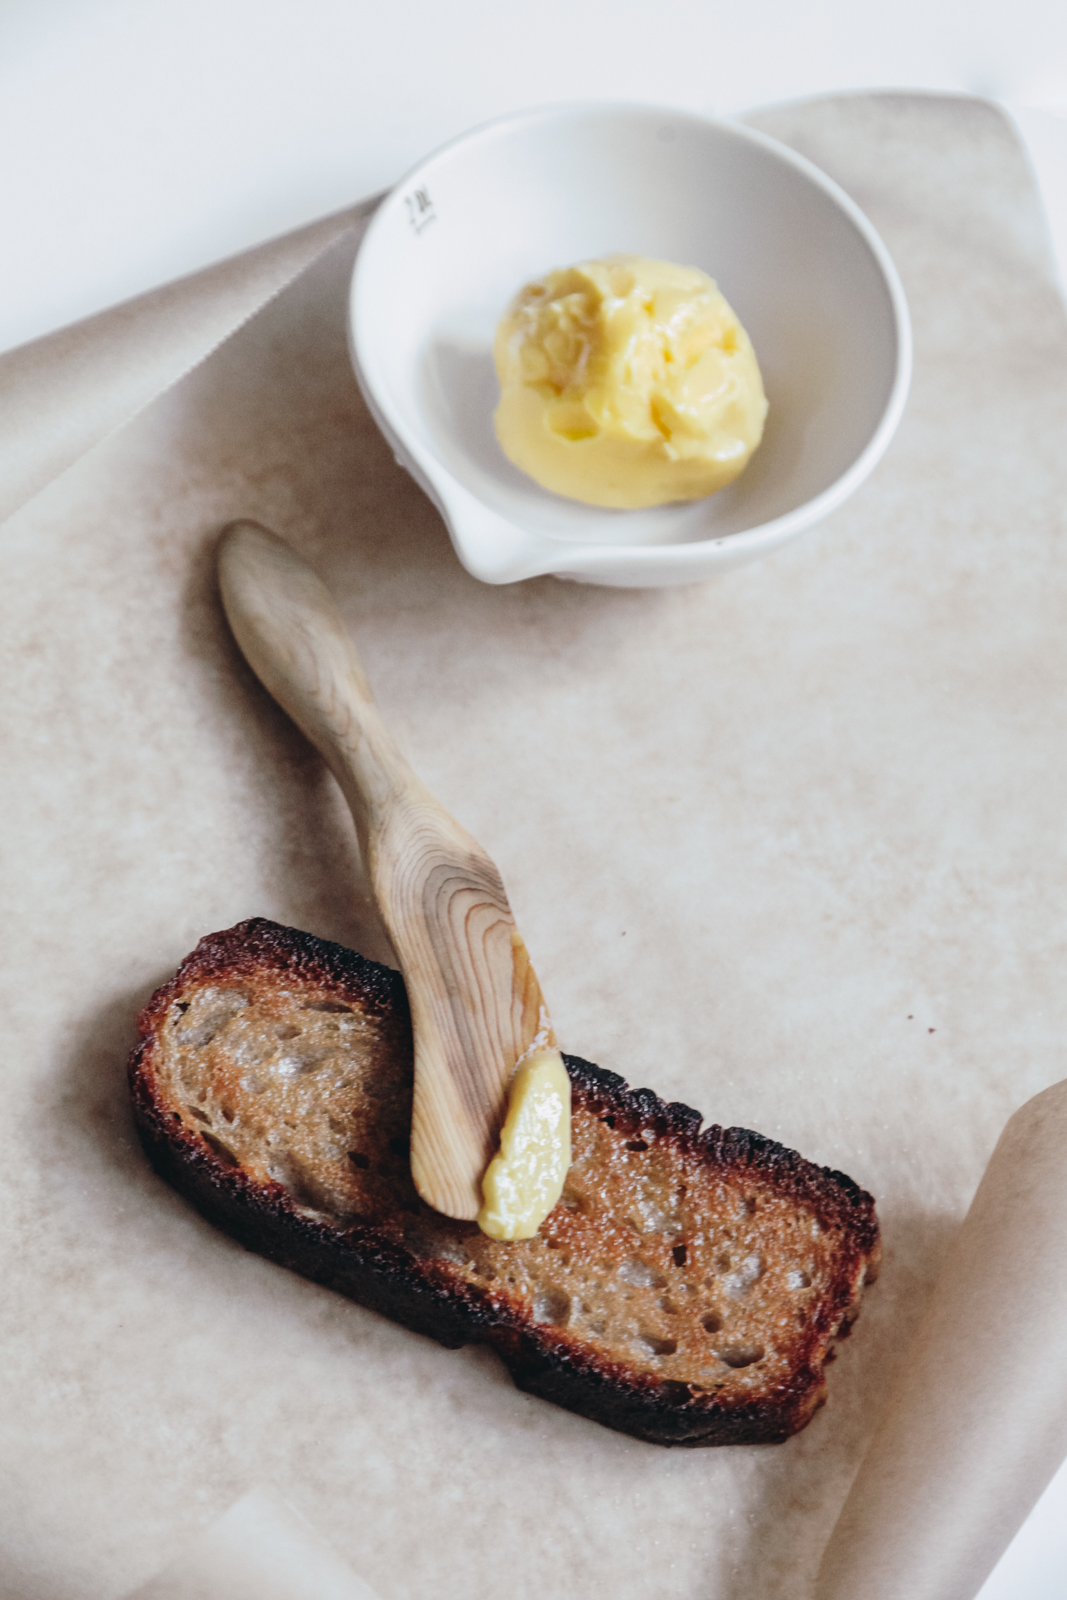
Then you’re ready to spread a slice of toasty bread with some delicious, creamy butter. Enjoy!
 |
 |
 |
|

What to do with the leftover buttermilk?
This is runnier than buttermilk that you find in supermarkets. It has a nice sour tang that is perfect for making buttermilk pancakes.

Book your next Danish food experience at CPH Cooking Class.
Photography by Freya McOmish.

